Getting Started
Welcome to schwab-py! Read this page to learn how to install and configure
your first Schwab Python application.
Critical Schwab Bug
As of July 21st, 2024, Schwab appears to be suffering from a breaking bug on the developer console site that is interfering with creating and managing apps. Don’t let this warning prevent you from using this getting started guide, but if you experience any of the following errors, please email Schwab’s API team at traderapi@schwab.com describing the issues you see. You can also join our Discord server to get updates.

When creating a new app, an error message warning about an invalid callback URL or one warning about a non-HTTPS URL even though it’s clearly HTTPS.

After clicking the “Create” button when creating a new app, banners indicating the callback URL is invalid

When opening app details on an app, a banner reporting that app details couldn’t be fetched.

After creating an app, a status of App Registration Error
Schwab API Access
Before we do anything with schwab-py, you’ll need to create a developer
account with Schwab and register an application. By the end of this section,
you’ll have accomplished the three prerequisites for using schwab-py:
Create an application.
Choose and save the callback URL (important for authenticating).
Receive an app key and a secret.
Create a Developer Account
You can create a developer account here. The instructions from here on out assume you’re logged in, so make sure you log into the developer site after you’ve created your account.
Create an Application

Next, you’ll want to create an application and populate the required fields.
API Product

The first thing you’ll select is the API Product. We in the community aren’t
currently clear on the difference between the options (“Accounts and Trading
Production” and “Market Data”). It seems that selecting “Accounts and Trading
Production” grants access to all APIs supported by schwab-py, so unless you
have a reason to do differently, we recommend selecting that option.
Order Limit

The order limit is the number of order-related requests your app will be permitted to place each minute. If you make, cancel, or replace more than this many orders each minute, you’ll be throttled and your orders will be rejected. Most users have no reason to restrict this, so we recommend setting this to 120.
App Name and Description
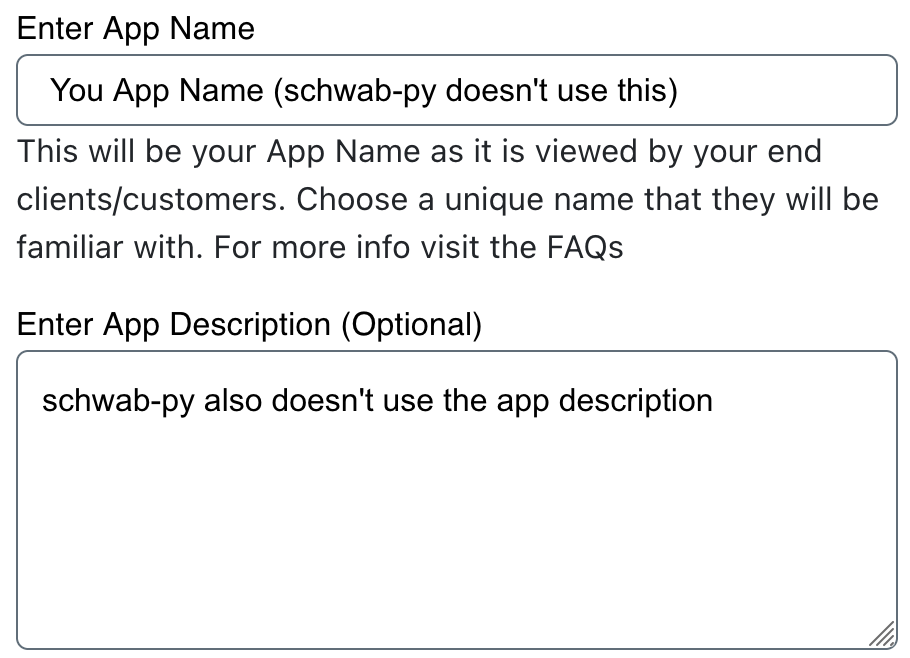
Next are the app name and description. schwab-py does not use these values,
but the folks at at Schwab might. We recommend being descriptive here, if only
so that users and app approvers know what your app will do.
App Name and Description

Finally, we have the callback URL. This one is important. In a nutshell, the OAuth login flow that Schwab uses works by opening a login page, securely collecting credentials on their domain, and then sending an HTTP request to the callback URL with ingredients for the token in the URL query.
The vast majority of users should set their callback URL to
https://127.0.0.1:8182 (note the lack of a trailing slash). This means that
once the login flow is completed, the generated credentials are sent back to
your machine at port 8182, rather than any external server. Setting a port
number is not require to use schwab-py, but it is required to use
certain convenient features. Advanced users may be able to
use a non-local callback URL, but this documentation assumes they are advanced
enough not to need our help creating such a setup.
Update July 21, 2024: We are receiving intermittent reports that Schwab is
refusing to create apps with callback URLs containing 127.0.0.1. If you
encounter this, please let our Discord community know in our help channel. If you don’t have any problem, we still
encourage you to drop by anyway and tell us you were successful. It’ll make
us feel better about this potential issue.
In any case, note that whatever callback URL you choose, you must pass it to
schwab-py exactly in the same way as you specified it while creating your
app. Any deviation (including adding or removing a trailing slash!) can cause
difficult-to-debug issues. Be careful not to mis-copy this value.
Waiting for Approval


After your app is created, you will likely see it in an Approved - Pending
state when you view it in your dashboard. Don’t be fooled by the word
Approved: your app is not yet ready for use. You must wait for Schwab to
actually approve it, at which point its status will be Ready For Use. This
can take up to a few days. Only then can you proceed to using schwab-py.
Client Secrets

Once your app is created and approved, you will be able to access your app key
and app secret by clicking through to your approved application in the
dashobard. Neither of these are meant to be shared by anyone, so keep them safe
(the ones displayed here are fake). You will also be required to pass these into
schwab-py. This library does not share these values with anyone except
official Schwab endpoints, not even its authors. Don’t share them with anyone.
Installing schwab-py
This section outlines the installation process for client users. For developers, check out Contributing to schwab-py.
The recommended method of installing schwab-py is using pip from
PyPi in a virtualenv. First create a virtualenv in your project
directory. Here we assume your virtualenv is called my-venv:
pip install virtualenv
virtualenv -v my-venv
source my-venv/bin/activate
You are now ready to install schwab-py:
pip install schwab-py
That’s it! You’re done! You can verify the install succeeded by importing the package:
import schwab
If this succeeded, you’re ready to move on to Authentication and Client Creation.
Note that if you are using a virtual environment and switch to a new terminal your virtual environment will not be active in the new terminal, and you need to run the activate command again. If you want to disable the loaded virtual environment in the same terminal window, use the command:
deactivate
Getting Help
If you are ever stuck, feel free to join our Discord server to ask questions, get advice, and chat with like-minded people. If you feel you’ve found a bug, you can fill out a bug report.